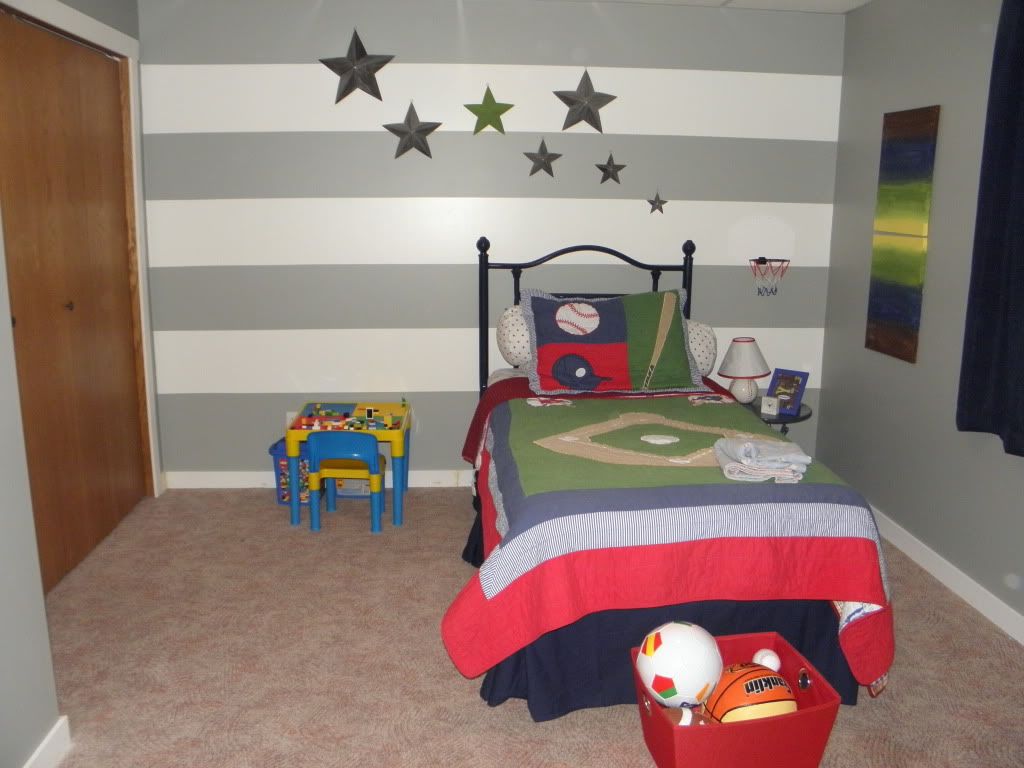
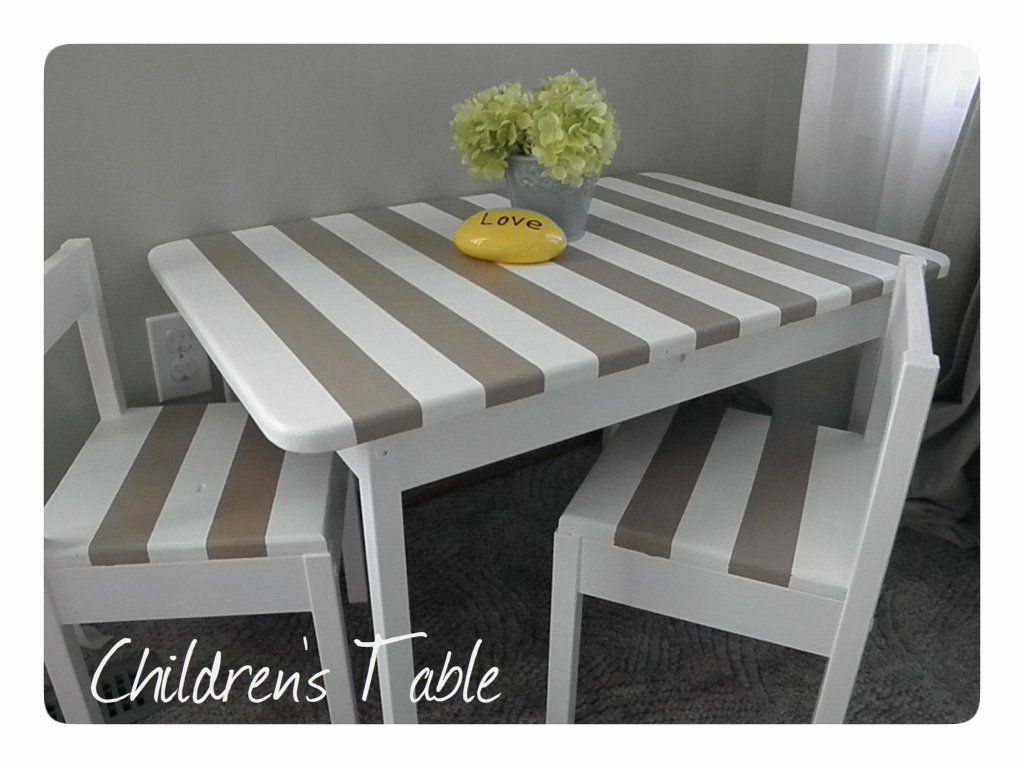
I’ve
always felt we needed something to fill this void space in the corner of our
living room. This child’s table was the perfect solution for us. It doubles
from a place for the kiddo’s to color, play with playdough, etc. TO extra
seating when we have family over with their kids.
This
table is so cute I don’t mind having it in my nice upstairs. For the most part we have a ‘no toy policy’
upstairs, just to keep our sanity. I’ve made an exception for this table because
I feel it just adds to our space.

After
months of searching for the perfect child size table, I came across this table
that Sarah @ Cozy.Cottage.Cute had painted stripes on and I fell in love. Its killer cute!
Anything like this would be mucho moula to
buy pre-made and that’s just not my style! I knew I could buy a table at
IKEA with 2 chairs for $24. Its style was lacking but the price was
right and I knew with a little muscle I could make it what I want.
Now,
down to business! You will need:
1 IKEA LATT
child’s table set with 2 chairs - ASSEMBLED
5/8”
plywood cut into:
1 - 31”
x 21”, Table top
2 – 11
¼” x 11 ¼”, Chair tops
12 - 1/2”
wood screws
1 glass
or circular object for tracing
Jigsaw,
sandpaper/power sander, painters tape
Paint in
color of choice (I used Benjamin Moore Cloud White & Martha Stewart Rootbeer Float craft paint)
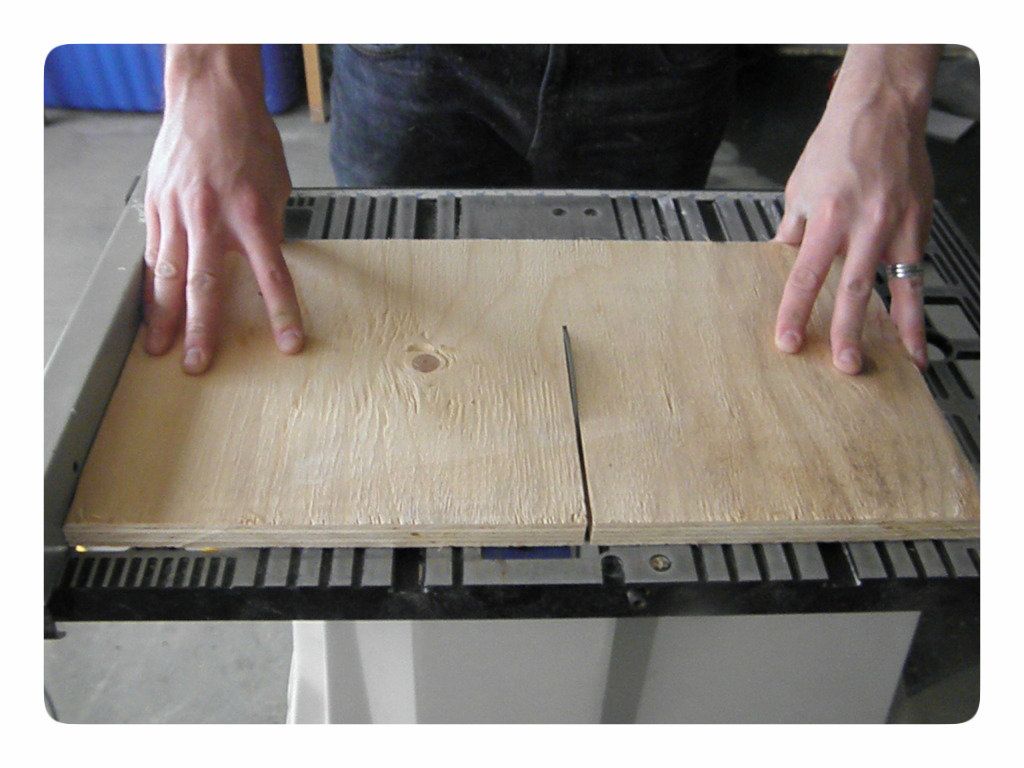
Cut your
3 pieces of plywood. (HINT: Re-measure your assembled chair tops before cutting
to have the exact measurement. Each one may be out 1/8” OR so because it is
after all from IKEA.) You can measure at home and have the pieces cut right in
the store, but we used our table saw at home.
(OPTION:
Measure your chair tops to be another 1” wide and long, leaving an overhang on
all sides but the back. When you get to cutting the corner notches you will
have to adjust your measurements to match, BUT this leaves you with the surface
area to add rounded corners on the chairs as well. Something I would have done
in hind sight.)
You will
now need to cut the corner notches on the chair tops so they fit properly.
Measure 1 1/8” across by 1” down in the two bottom corners of each piece. (HINT:
Another good time to re-measure your chair backs.) My husband used the table
saw for this as well, but unless you are SUPER skilled I would recommend using
a jigsaw. Slide into place and make sure they fit!
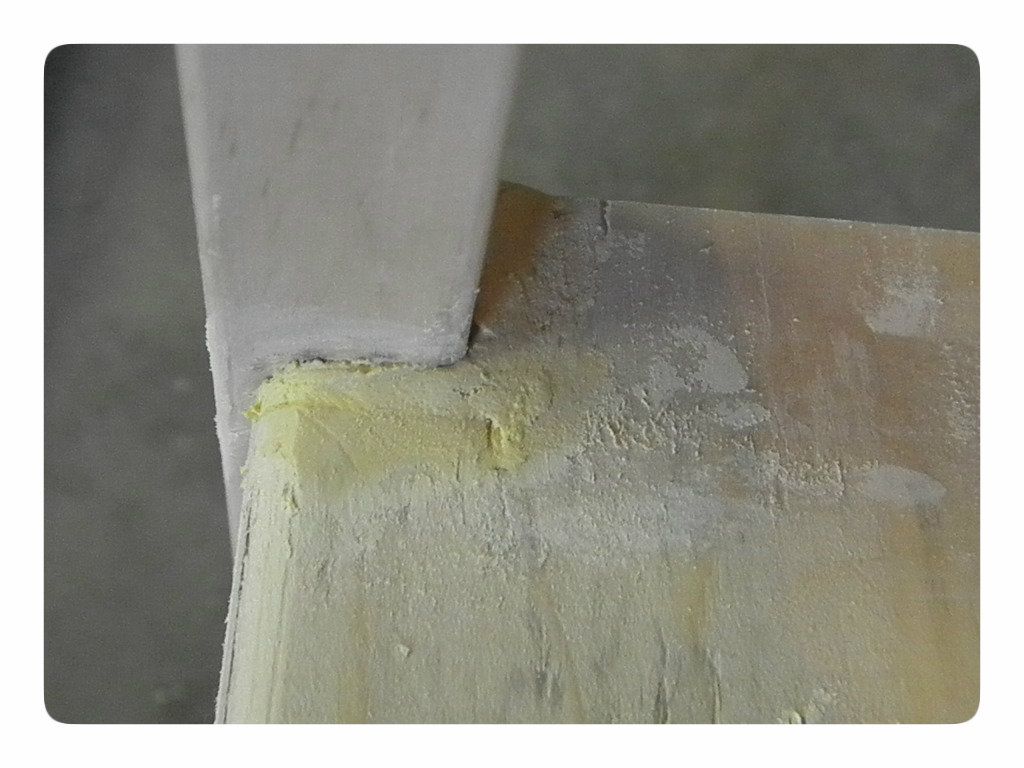
Don’t
worry if your cuts are off, you can always use sandable, paintable wood filler.
I used Elmers brand, just to touch things up.
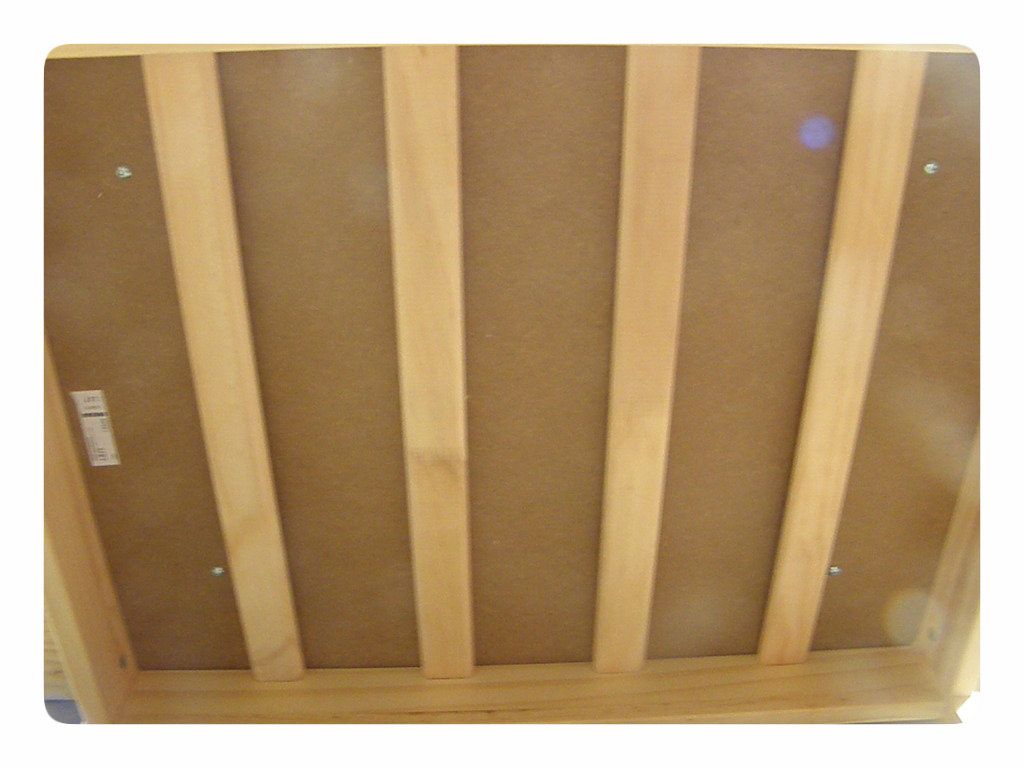
The
table top and chair tops are now ready to be screwed into place. Turn your
table upside down and lay on top of your table top. Measure each side so that
it is centered. Screw your ½” screws in each corner through the white board.
REPEAT for each chair. (HINT: Make life easy by setting the chair upside down
on the table to screw the chair top on!)
Place
your circular object (We used a pop can because it was convenient in the garage)
in each corner and trace a semi-circle.
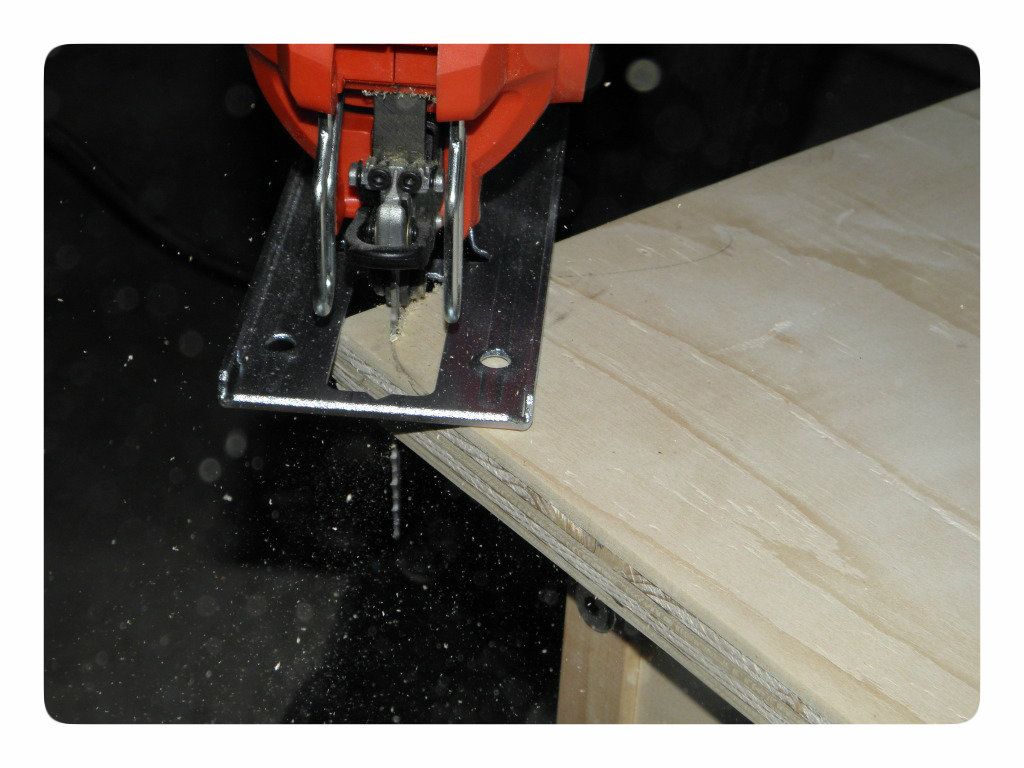
You will
now need to use a Jigsaw to cut your round corners. We tried to cut on the outside of the line, so we didn’t take
away from the surface area of the table top.
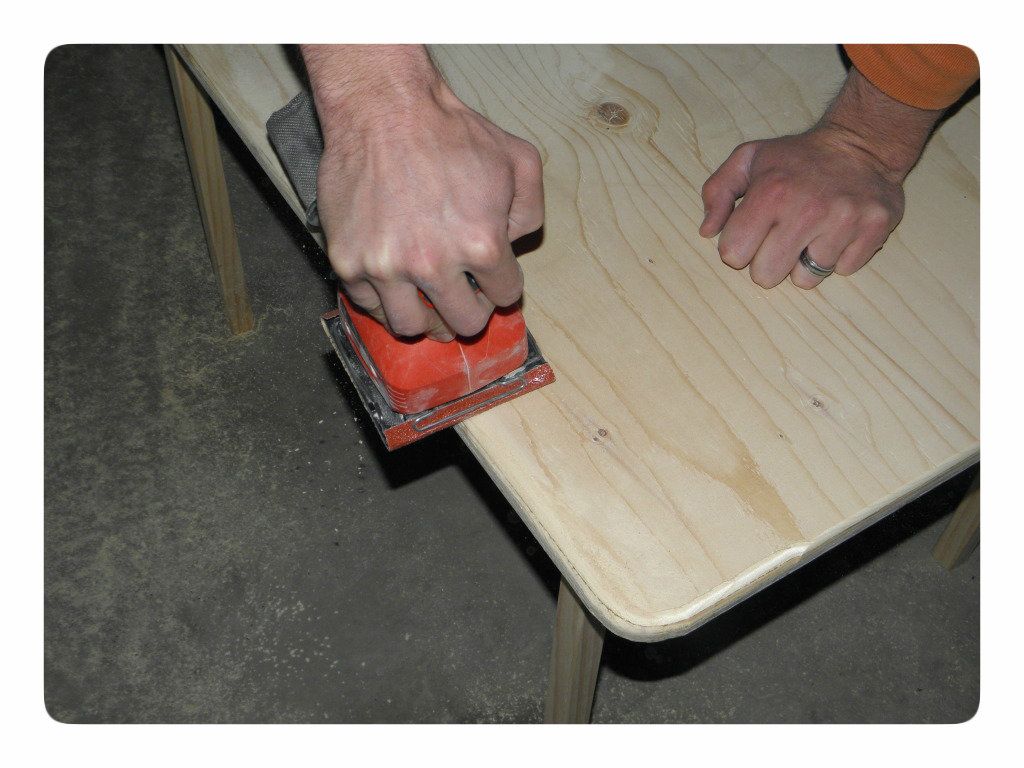
Now sand
all the edges until smooth. We also had to sand down the top because our
plywood had lots of knots and nicks to smooth out. Don’t forget your chair
edges either!
We’re
almost done! It’s painting time! I did 3 coats of my white paint everywhere
including the legs and let it dry completely for a day before moving on to the
next step.
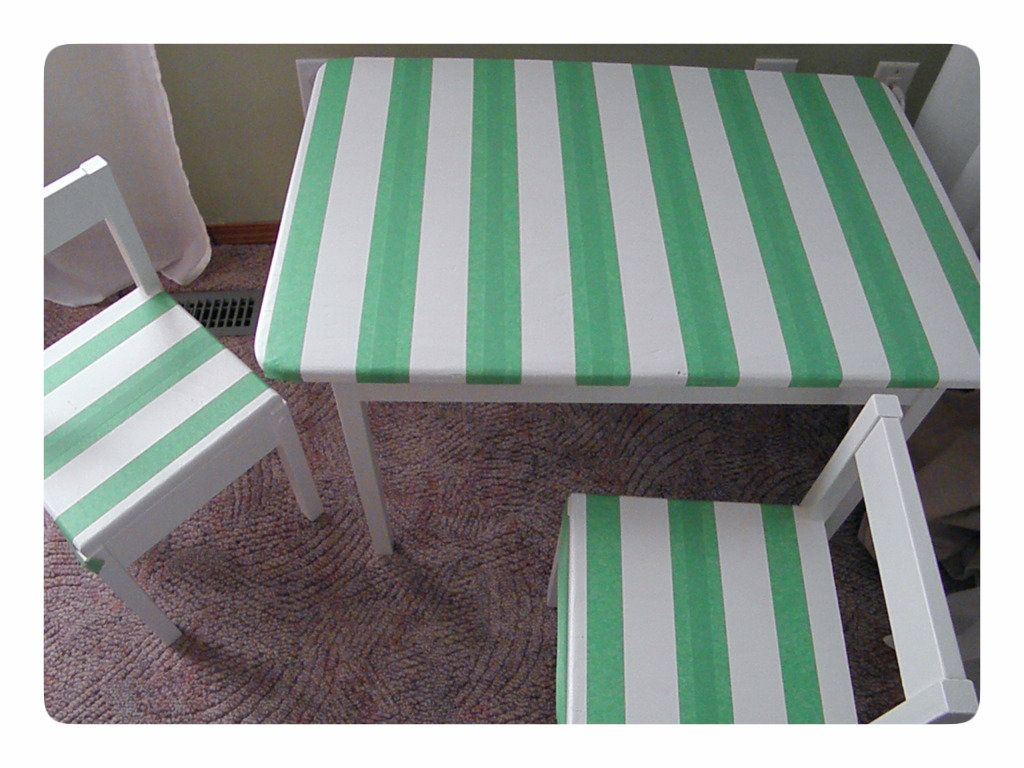
I taped
out my stripes every 2” on the table top and chair tops. Paint in
your stripes. I did 2 coats. (HINT: Let it dry for 1 hour then take of the
painter’s tape! The longer you leave it, more chance of it peeling off your
paint. Oh no! )
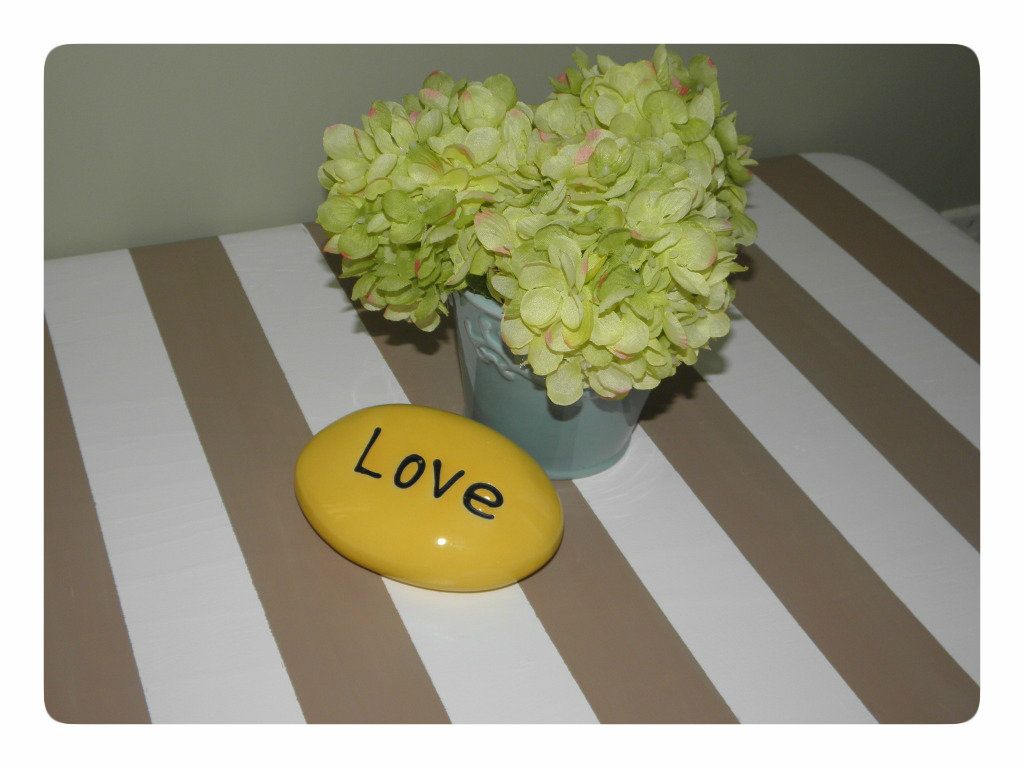
Time to
admire your handy work! It’s pretty fabulous if I do say so myself! Please
leave your comments if you heart this as much as I did?!